Rockwell Hardness
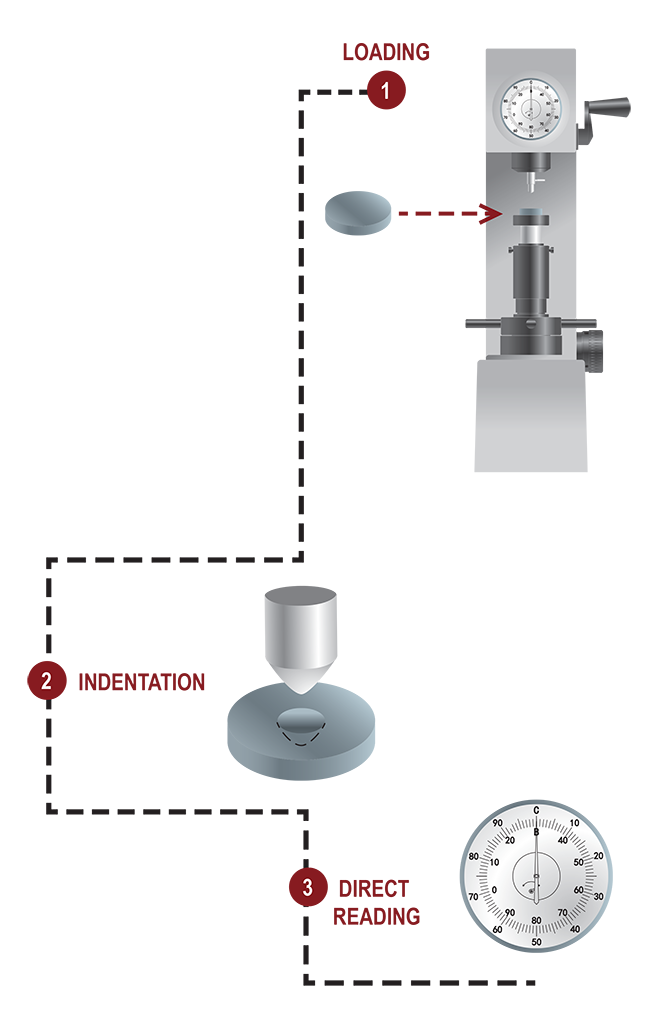
Rockwell hardness test, approved in 1919, is based on the
measure of the net indentation depth increase when a load is
applied.
The test is performed by pressing an indenter with a pre-load,
which cause an initial penetration, set the zero point on the
tester and then full-load application. Removing the full-load, the
result value is referred to the depth while the pre-load is still
applied.
Different type of indenters are used : 120° diamond
spheroconical, 3.175mm and 1.588mm spheres.
This test is widely used to its speed, resolution, reliability and
small indentation area.
Superficial Rockwell tests uses low loads on thin samples and,
according to the indenter, can be performed from ceramic to
metal sheets.
The hardness values are expressed with dimensionless
numbers, most common used scales are the C and B. There are
several alternative scales A,B,C,D,E,F,G and others.
Superficial Rockwell scales are expressed as 15, 30 and 45
followed by N, T, W, X and Y according to the used indenter.

Brinell Hardness
The oldest hardness test in common use is frequently adopted
to measure the hardness of forgings and castings.
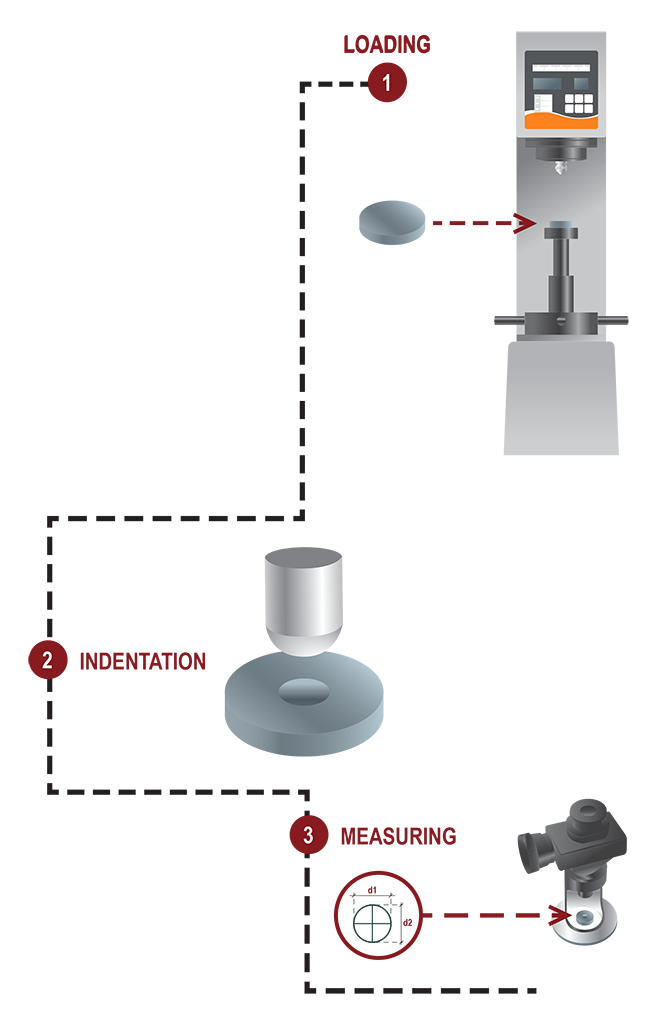
The test is performed by pressing a steel, or tungsten ball
indenter on a well prepared sample surface under specific load.
The resulting indentation is measured by scaled eyepiece or
through specific analysing software and converted in the HB
scale.
Tipically a 10, 5, 2.5 or 1mm diameter sphere indenter with kgf
to 3000kgf load is used for the test, smaller spheres and low
loads are used for softer materials tests.
For harder materials the tungsten sphere is used.
The Brinell hardness is expressed as HB and must be followed
by the test conditions.
These standards are two HBS when steel ball indenters are
used, or HBW when tungsten indenter is used. These units are
followed by XX/YYYY where XX is the ball diameter inmm and
YYYY is the applied load in kgf.

Vickers Hardness
Developed in 1921, as an alternative to the Brinell Hardness
test, is one common method to measure the hardness of
materials specifically for thin sections and small parts.
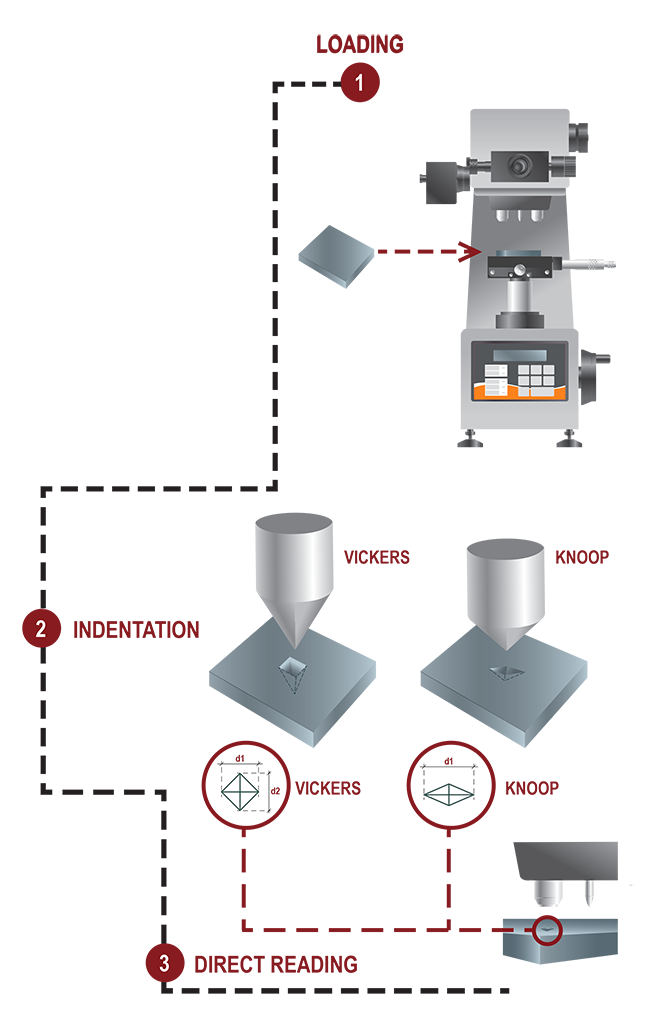
The test is done by pressing a square-based pyramid diamond
indenter on a well prepared sample surface under specific load.
The resulting indentation is measured by scaled eyepiece or
through specific analysing software and converted in the HV scale.
The Vickers method can be divided in two ranges, which uses
the same indenter, according to the applied load: Macro and
Micro range.
Vickers hardness numbers are always expressed as xxHVyy
where xx is the hardness number, HV is the hardness scale and
yy the applied load. Sometimes after the load value is indicated
the loading time if different from 10 to 15 seconds.
Knoop Hardness
Developed in 1939, Knoop Hardness Test is used to measure
the hardness of brittle materials or thin sheets. Knoop test can
replace a Vickers test and use a pyramidal diamond indenter. It
is expressed as HK.

Universal Hardness
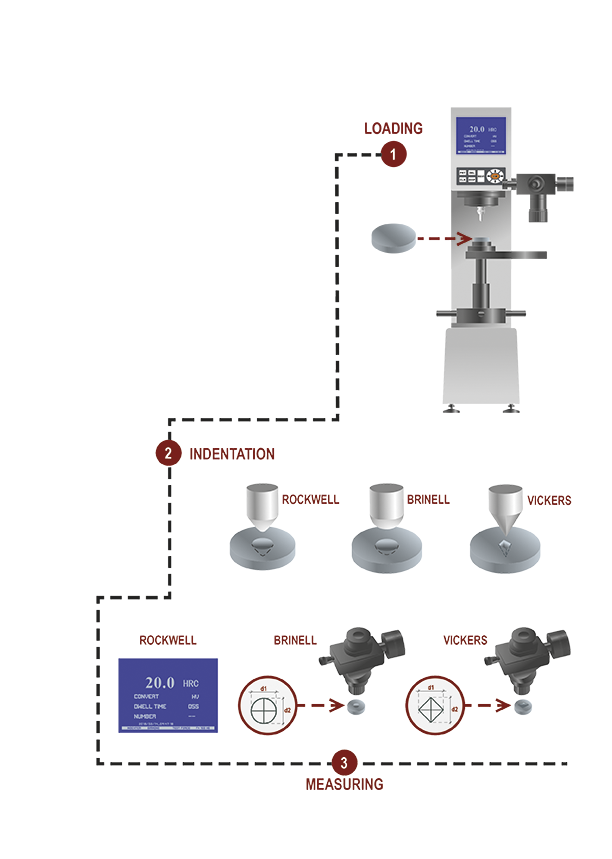
Universal hardness Testers are multi functions instruments for
the determination of Rockwell, Brinell and Vickers hardness.
As all-in-one equipment allows the user to concentrate the
measurements, the calibrations and the maintenance in one
single unit.
Most used where all harness have to be tested with specific
ranges.
Always applying the international standards ASTM, ISO and JIS
this solution grants performance and versatility.


